Pages

Wednesday, 7 March 2012

More Canvas Button Art ♥

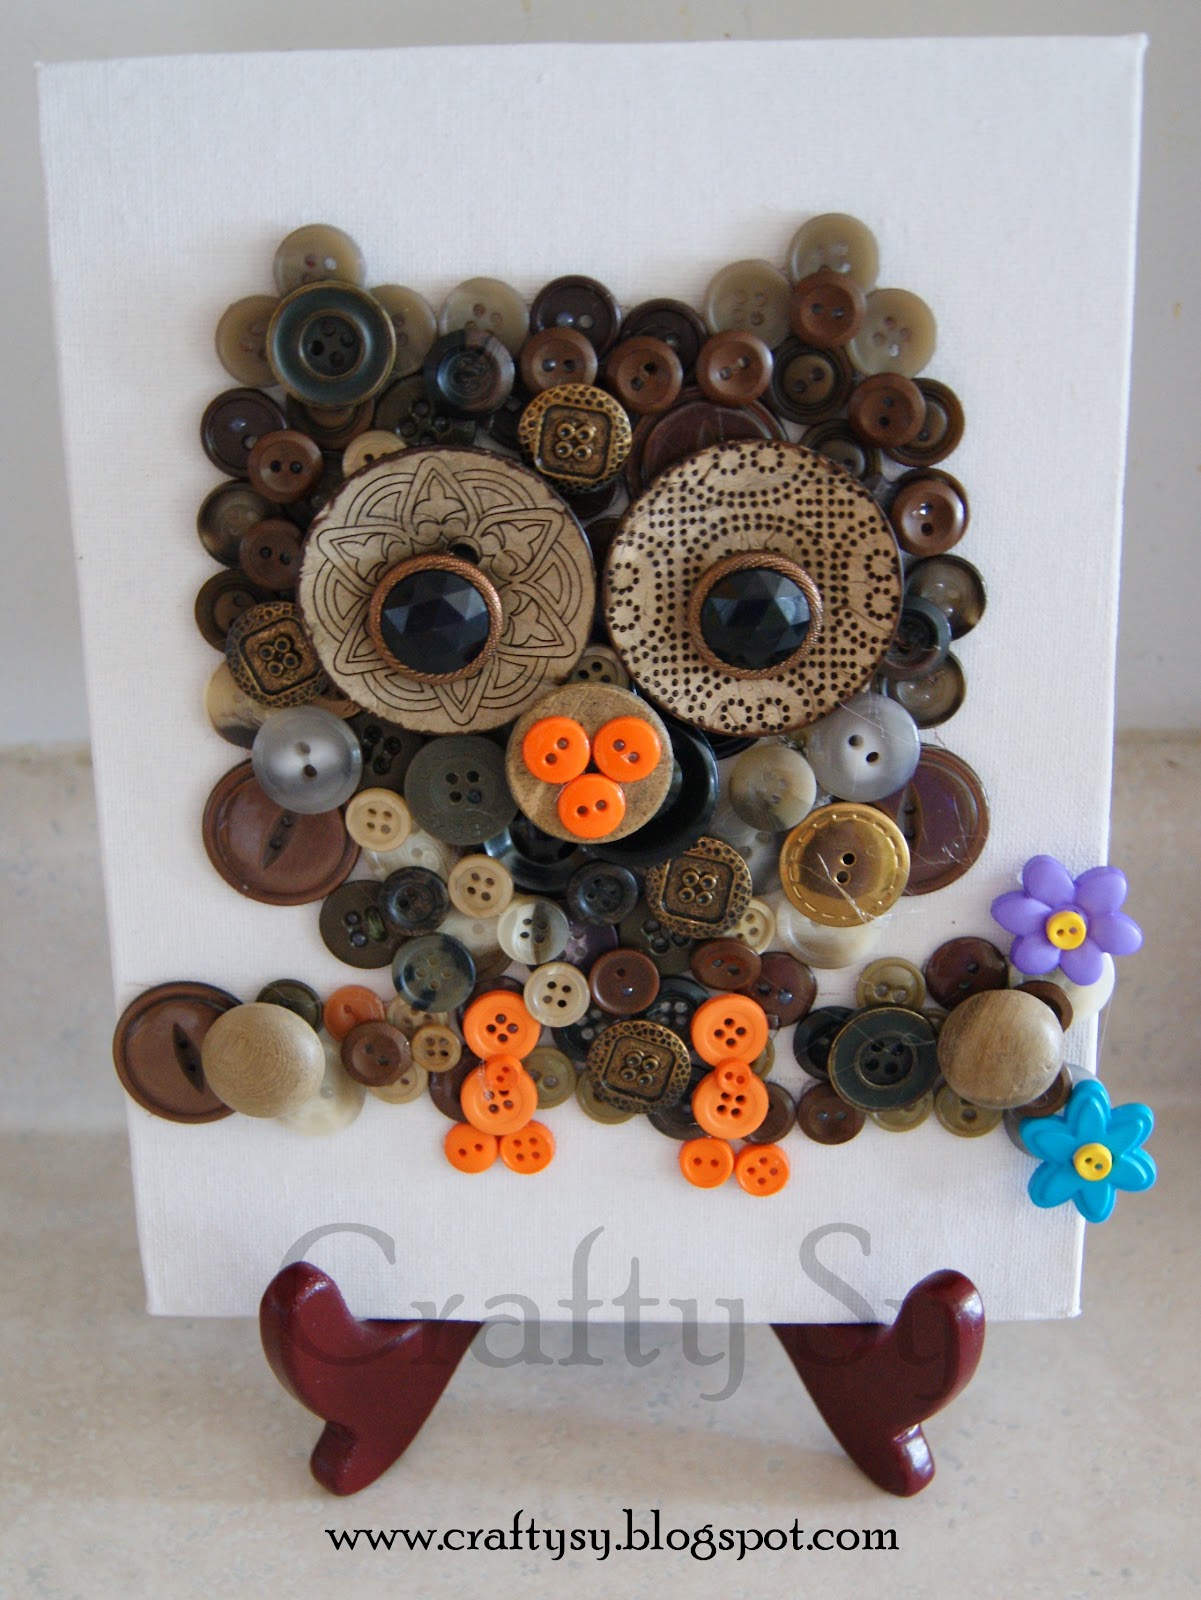
I thought I would throw out a few ideas out there for people who have been wanting to try button art! Here are two new creations that I came up with. 

Now you can use this link to my previous button art if you are wondering how I did it.
http://craftysy.blogspot.com/2012/02/canvas-button-art.html

This two are both made from canvas that is brought at the dollar store (5x7 size). And took about 45 minutes each to make.

This one reminds me of Spring! Which I so desperately miss!


This one is my button Owl. Both my Bf and my son just love him.


Happy Crafting!
~Sy

Saturday, 3 March 2012

A piece of cake!

I quick thank you Cake by Alana for such a fabulous cake!! Not only was she beautiful to deal with, she made my dream cake a reality. It was by far the most tasty cake any of us have ever had!! Highly suggest using Alana for your dessert needs! 

http://cakebyalana.blogspot.com/


Happy Birthday!! ( Thanks Alana!)
~Sy

Birthday Bash at the Crafty Cuppa ♥

What does a gal like Crafty Sy do on her birthday?! Something "crafty" of course!


 If you are living in British Columbia or even just visiting the area I HIGHLY suggest swinging by The Crafty Cuppa in Chemainus.


Their staff are amazing, informative and very thoughtful. The place is clean and bright with a friendly feel to it! Kid friendly as well!


This is what the Crafty Cuppa is all about..

- Pick out your ceramic! They have OODLES and I mean OODLES of things to choose from. Everything from mugs, to dishes, cute little ornaments..something suitable for everyone ( Prices are VERY reasonable!)

-Paint your heart away. There is every paint color and paint brush..you'd ever need!! Not to mention magazines to help you with ideas! Stencils are available as well! The paint is completely child and clothing friendly!

-When you are finished they kiln your masterpiece for you, and you can then pick it up at a later date. ( Roughly a week) Then its ready to go, and will safely last a long long long time.

This is a place you need to check out!!!! (So I'm giving you the link for more information)

http://www.thecraftycuppa.com/Crafty_Cuppa/Home.html


This is what I chose to paint. A very intimidating monster! I will be sure to post a picture after he is put into the kiln. 


Here are my girlfriends ( pre-kilned) creations!


Happy Crafting!
~Sy


Sunday, 26 February 2012

Clothespin Ribbon Art Holder ♥

If your child is anything like mine..he/she LOVES to draw. My son is constantly making art, my fridge is covered , my magnet board is covered...what next?

This Clothespin Ribbon craft is a great way to show off all their art in a very unique way. Clothes pins are also great for itty bitty chubby hands so your child will be able to hang their items where they want as well. ♥


Skill Level: Medium

You Will Need:

•Ribbon (the medium thick ribbon will work the best )
•Hot Glue
•Tacks or Sticky Tack
•Small Wooden Letters ( I find mine at Walmart for $1.00 a bag)
•Clothespins (Walmart for $1.97)
•Paint/Brush


Step One:

•Begin by measuring the approx amount of ribbon you will need by wrapping it around the clothespin. Then cut the amount of strips you will need. ( I did 12)

•Next start by putting a small amount of glue on the tip of the clothespin..continue gluing and laying down your ribbon as you go around. 


Step Two:

•Now lets work on our letters, I painted mine brown to match my ribbon! Mine took two coats :
)


Step three:

•Once your letters are dry glue them to your clothespins! 


Step Four:

• Place your ribbon on the wall ( I used sticky tack on the back of my ribbon ends, and my clothespins and it's held VERY well)


Viola! Easy to make, and looks really sweet!


Happy Crafting
~Sy


Thursday, 23 February 2012

Something OLD into Something NEW ♥

Everyone  I know is on an "Up-cycling" kick. And why not? Not only is it better for the environment, but it's also almost always a cheaper way to get what you want.

Take me for example..I really really wanted a small crafting table. Something that I could put in my room that would look nice, not take up too much room..and have some drawers for storage. I looked everywhere.. The cheapest thing I ended up finding was a small computer desk at Walmart that was press board for $69 in the wrong color. So I decided I would check out local thrift stores..and I did.

These are my tips when searching for the furniture you want..very simple easy to remember tips.

• Find something built to last. (ie: skip over things that are press board etc) Look for real solid wood.

• Find something SO ugly that the owner is sure to give you a good price..because who else would want THAT?! ( My desk was not only horrible stained with marks..but it was also missing knobs and just looked plain awful)

• Find something reasonably priced! Factor in the cost of your item and what you will need to do to  get it up to par.

And last but not least..

• Find something that you can see the potential in. Something that when you close your eyes and look at it..you can picture it where you are going to put it and how it will look.

♥  My desk cost me $20, plus I paid another $7 for new knobs. I used my left over bedroom paint on it, and it looks fabulous! 


Happy Crafting!
~Sy

Wednesday, 22 February 2012

Keepsake Birthday Count up! ♥

My son LOVES counting down..or counting up to ANYTHING! His birthday is his ( and mine!) most favorite day of the entire year! I was tired of the candy treats each day but still wanted to make it special..

What could possibly be more special then uncovering a special picture of himself each day?! ♥ After you're done counting up, you have a beautiful piece or art left to frame and hang on their wall :)


Skill Level: Very easy and quick as well!

You will Need:


•Photographs
( The number of pictures really depends on how many days your counting up to. My son's birthday is the 20th so it was easy! However let's say your child's is the 4th..you could always count down from the previous month.)

•Card Stock

• Number Stickers or Felt Pens

•Sticky Tack


Step One:

• Make your photo collage. I did mine myself. However places like Walmart, Cost Co and other photo places are now offering them. My printing cost was $3.00.  Make sure you make how many squares you will be counting up to .

• Using your card stock, start cutting out pieces to match your photo squares. Using a ruler would be best. I just eyed it.

  ( I like to live on the edge..the straight edge. haha)


Step Two:

•Now using your stickers or felts, begin to number your boxes. You can do them in complete randomness..OR you can do them in order. I did mine from the pictures of him when he was youngest until now ♥ 


Step Three:

•Add Sticky Tack to the back of your pictures and smoosh them onto your photos. 


And Viola! There you have it. A keepsake Birthday Count up!
**I'd also like to add that on a whim I decided to laminate mine, and it is not only more durable this way, but also I can now re-use the number squares next year with different pictures underneath.**


Happy Crafting & A Happy Almost 5th Birthday to my Sweet Boy
~Sy


Tuesday, 21 February 2012

Button Tree

I wanted to share this original idea with everyone ♥ There is no tutorial for my Button Tree..however you can use the one for Button frames http://craftysy.blogspot.com/2012/01/button-frames.html and it is the same basic idea.

This is made on four large (10x14) canvas'. It's my seasons tree..Fall into Winter, into Spring, into Summer.
Look closely..little neat buttons are hiding everywhere!

So far two people have already offered to buy this from me! However it will be put in my bedroom above my crafting desk , so I can see it every morning and smile ♥

This is very easy to do..but it takes a LOT of time. This project took me nearly 6 hours..and a lot more buttons than I thought it would!! But is it worth it? Well you tell me!


Happy Crafting!
Sy